Pulsar usage on SURF Research Cloud
| Author(s) |
|
| Reviewers |
|
OverviewQuestions:
Objectives:
How do I start a Pulsar instance on SURF Research Cloud?
How do I connect to Pulsar?
Requirements:
Be able to attach a Pulsar node to Galaxy
Send jobs to Pulsar
- Access to the SURF Research Cloud
- SRAM authentication
- An SSH key connected to your account
- Have a basic understanding of how Galaxy works
Time estimation: 30 minutesLevel: Introductory IntroductorySupporting Materials:
Published: Dec 18, 2024Last modification: Dec 19, 2024License: Tutorial Content is licensed under Creative Commons Attribution 4.0 International License. The GTN Framework is licensed under MITversion Revision: 3
Using Pulsar via the SURF Research Cloud (SRC) allows researchers to start Pulsar instances on-demand to expand their computational resources and even access GPUs to help and analyze their data in a secure environment following the General Data Protection Regulations (GDPR).
There are two main use cases we envision this role being useful for:
- Saving costs on SRC
- Maybe you’re already running Galaxy in SRC, but you don’t want to run a GPU node because it is very expensive. By using the SRC Pulsar Catalog Item, you can launch a node to do computations and then shut it down when you’re done, saving money. Pulsar instances can be started and stopped on demand, depending on personal cases and requirements, giving you a lot of freedom!
- Accessing a GPU from a local (in UMC/hospital Galaxy)
- If you do not have a GPU easily available within your institute, it may be attractive to send jobs securely to SRC, by launching a Pulsar node in SRC and attaching it to your institute’s Galaxy instance.
Agenda
Prerequisites
The instance provides secure authentication, where users must have a SURF Research account prior to this tutorial, have set the SURF Research Access Management (SRAM) authentication method, and connect an SSH key to their accounts. In case you are not familiar with SRC and need help in setting up your accounts, please follow the instructions on the SURF Knowledge Base
Inside the SRC members should have access to all publicly available catalog items. If you are not able to create a catalog item, please contact SURF servicedesk.
This tutorial assumes you are member of a Collaborative Organisation (CO) in SRAM that has access to SRC and a wallet with budget in SRC with enough sources to create Galaxy and Pulsar catalog items. (For more information please refer to the SURF Knowledge Base.
You should have previous experience working with data inside Galaxy.
SSH access is required to reconfigure your Galaxy instance. Please make sure you set an SSH key in your SRAM account if you are planning to use Galaxy in SRC for this tutorial.
Hands-on: Log In to SRC
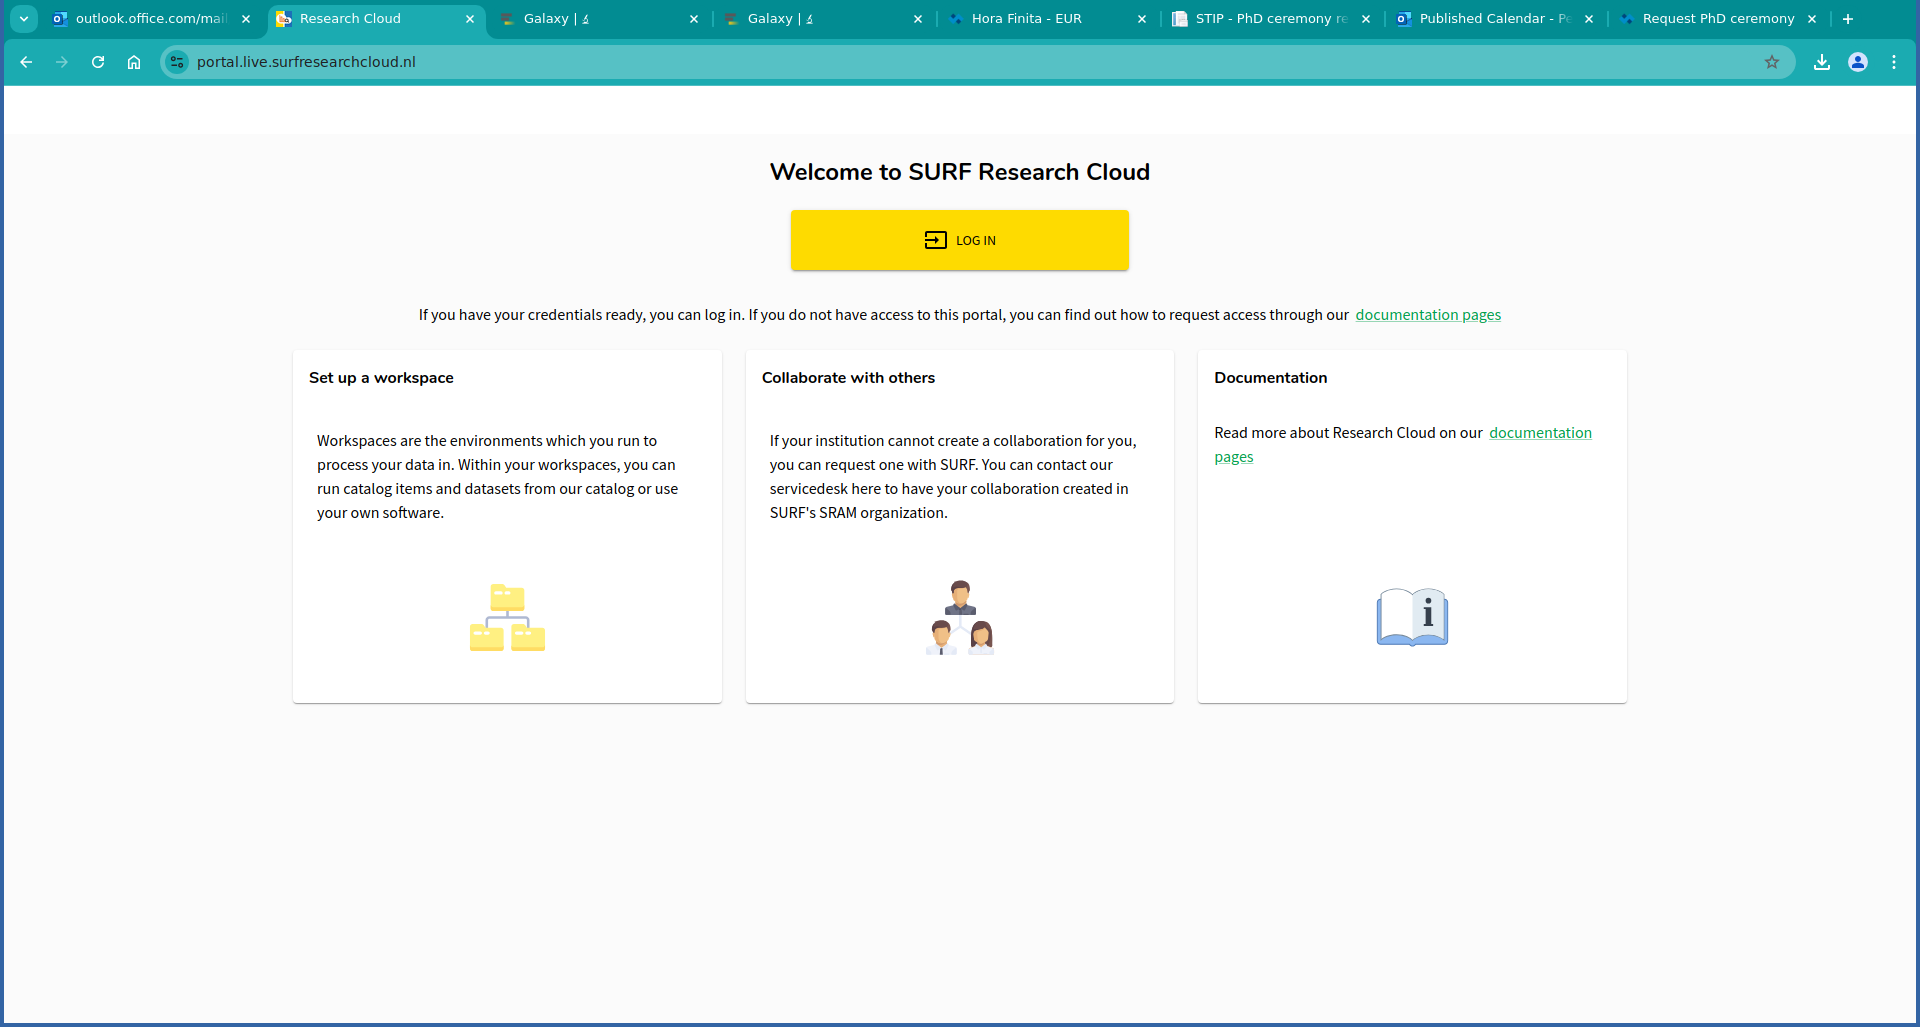
Log in to SURF Research Cloud
Launching Pulsar in SRC
Hands-on: Launching Pulsar
In the Workspaces Tab on the bottom half of the screen, you’ll find a Plus Button at right to add a new workspace
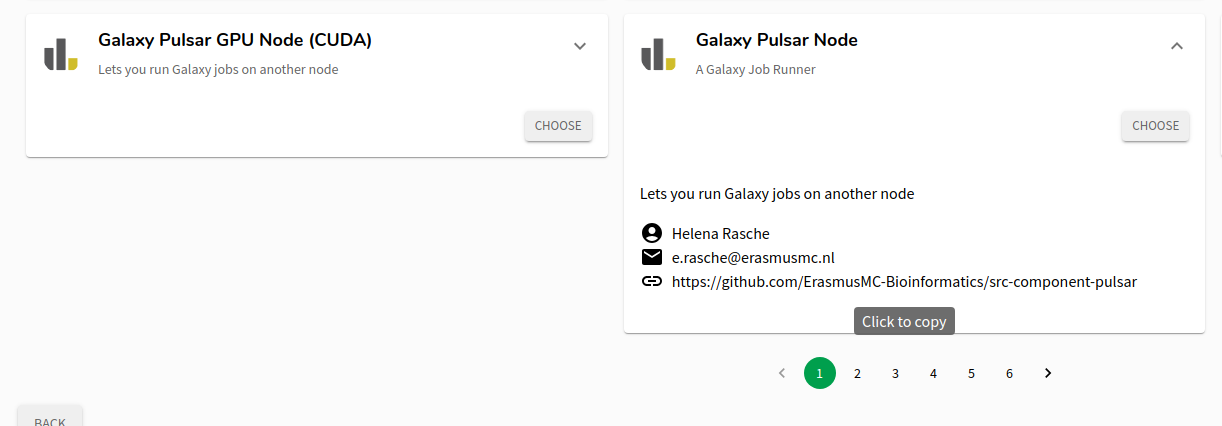
Clicking that will let you choose any of the Catalog Items from SRC. They’ve got a wide selection but we’re only interested in the two Pulsar Catalog Items
Warning: GPUs are ExpensiveThe GPU nodes are expensive. In fact it was the motivating reason for building this catalog item: to enable you to launch a node, run some computations, and shut it down, saving you money.
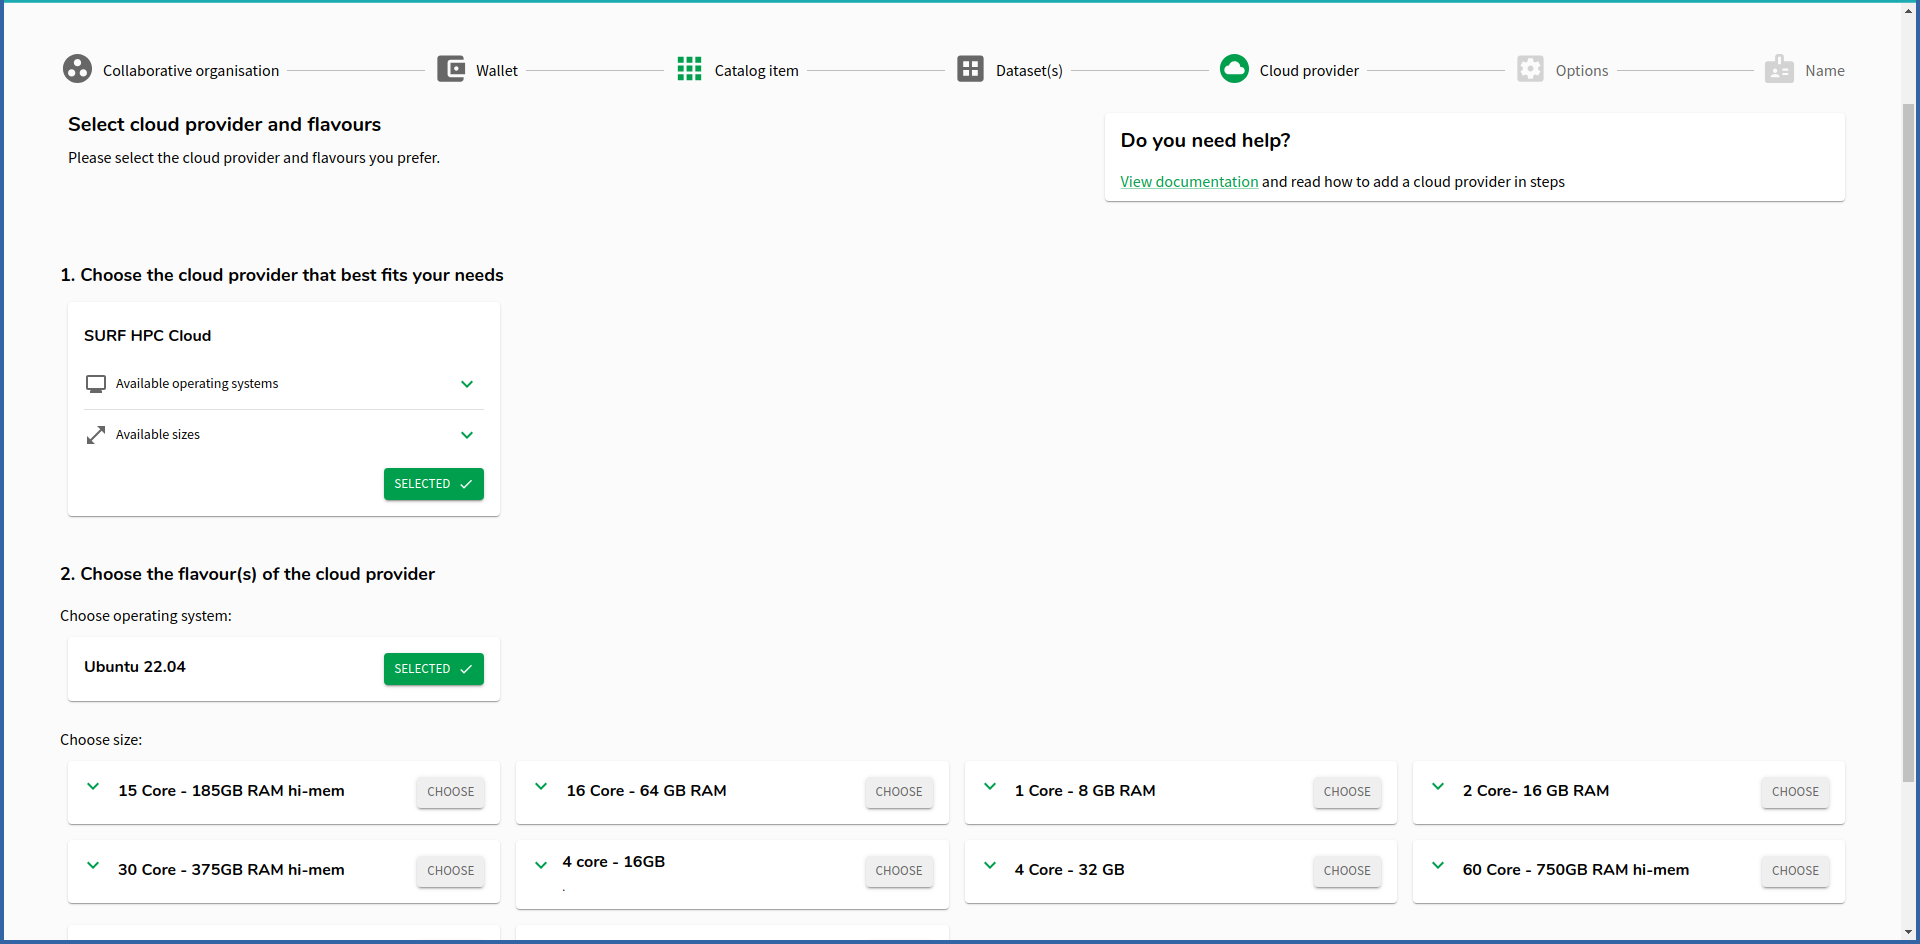
Creating a “workspace” from a catalog item (a template) is easy, most of the options are fixed for you, you just need to choose the size of the item. Pick an appropriate size for whatever computations you need to do.
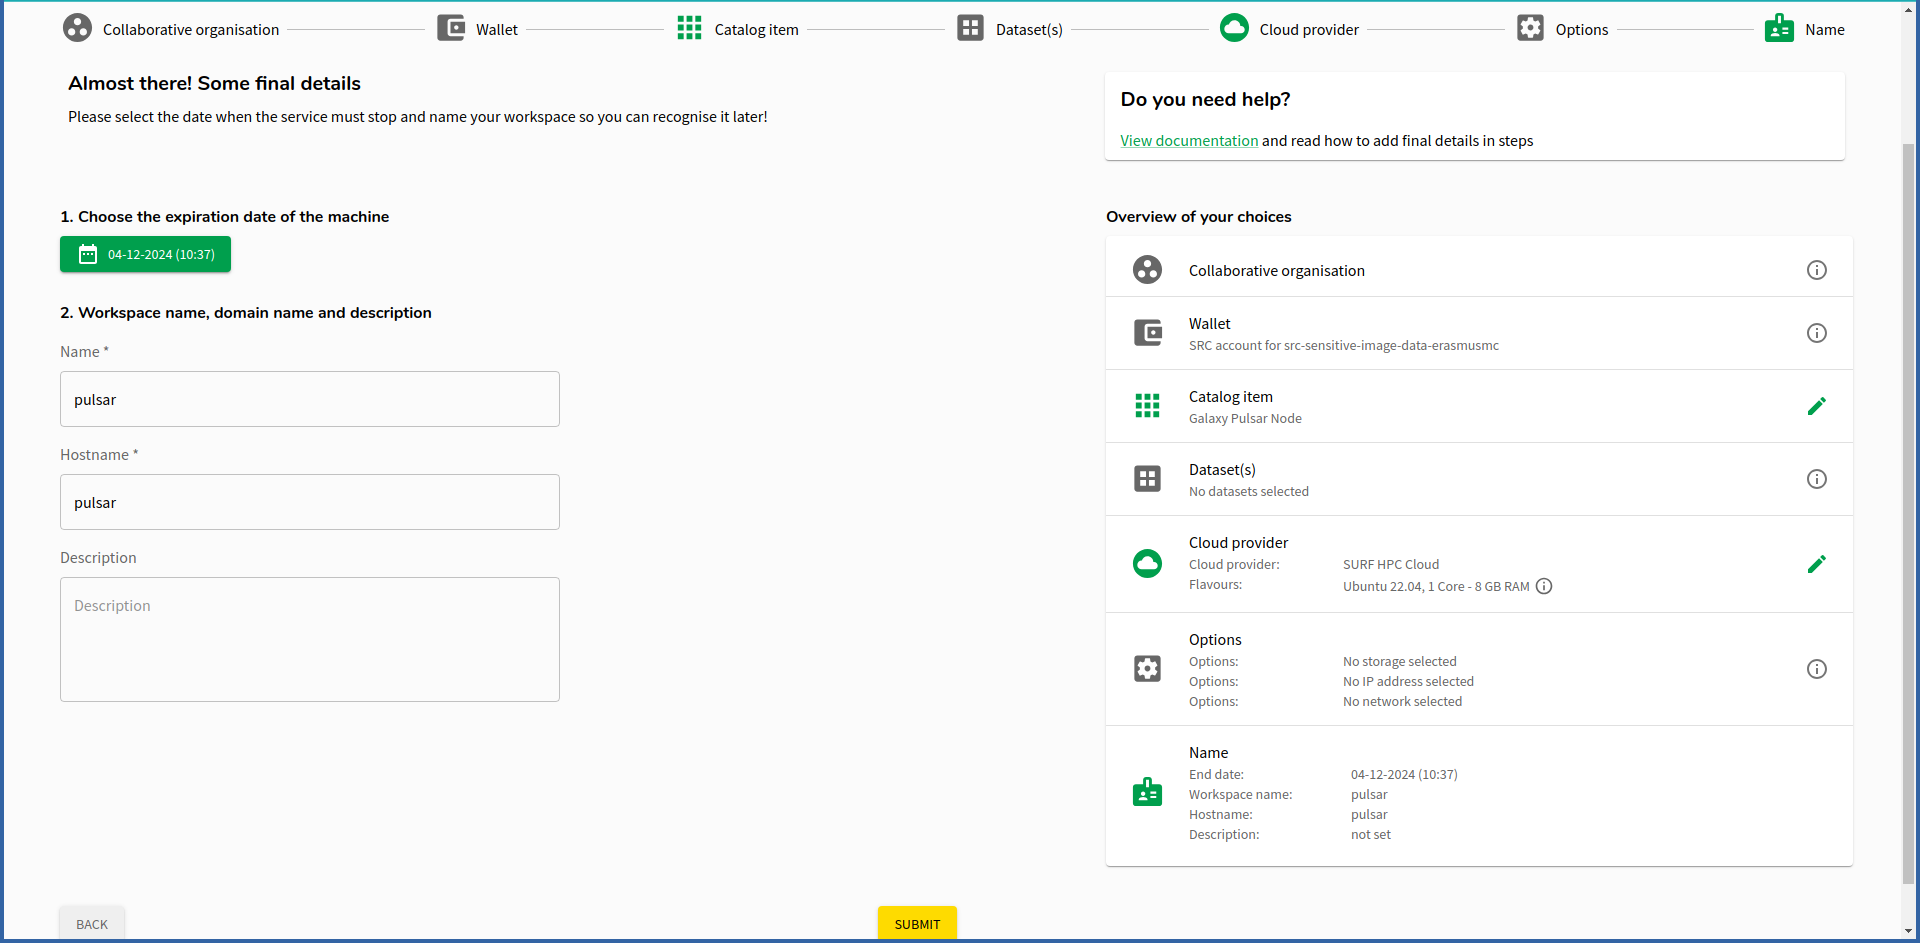
Pick a name, it can be anything, it does not matter. Check the expiration date to ensure it is just enough time for your computation and no more.
The standard life-time of the VM is 5 days. If you need it for longer, this option can be changed once the machine is running. Note, that once the machine is expired and deleted it cannot be restored! Plan accordingly and migrate your data in time to prevent data loss!
This is an incredibly useful feature as it saves you from forgetting to destroy a VM. Especially for GPU nodes it can help you ensure that they disappear after your computation is complete.
Click submit when you are happy with the configuration.
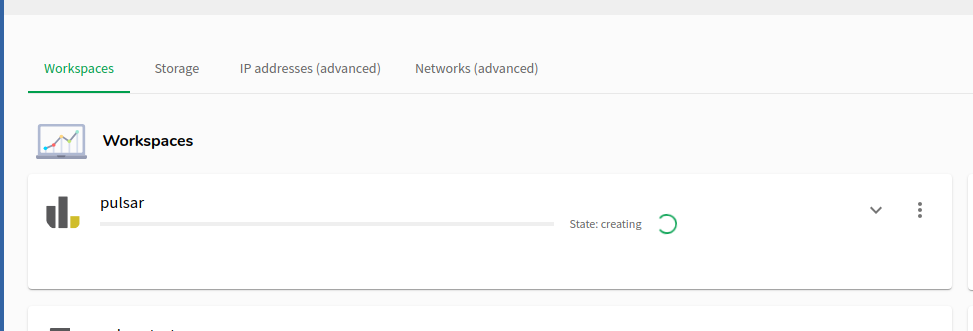
Once done, the workspace will be created for you. You’ll need to wait ~5 minutes usually. Go for a beverage ☕️
Using Pulsar on SRC
Hands-on: Access the Information Page
Once the workspace is up, you’ll see an Access link:
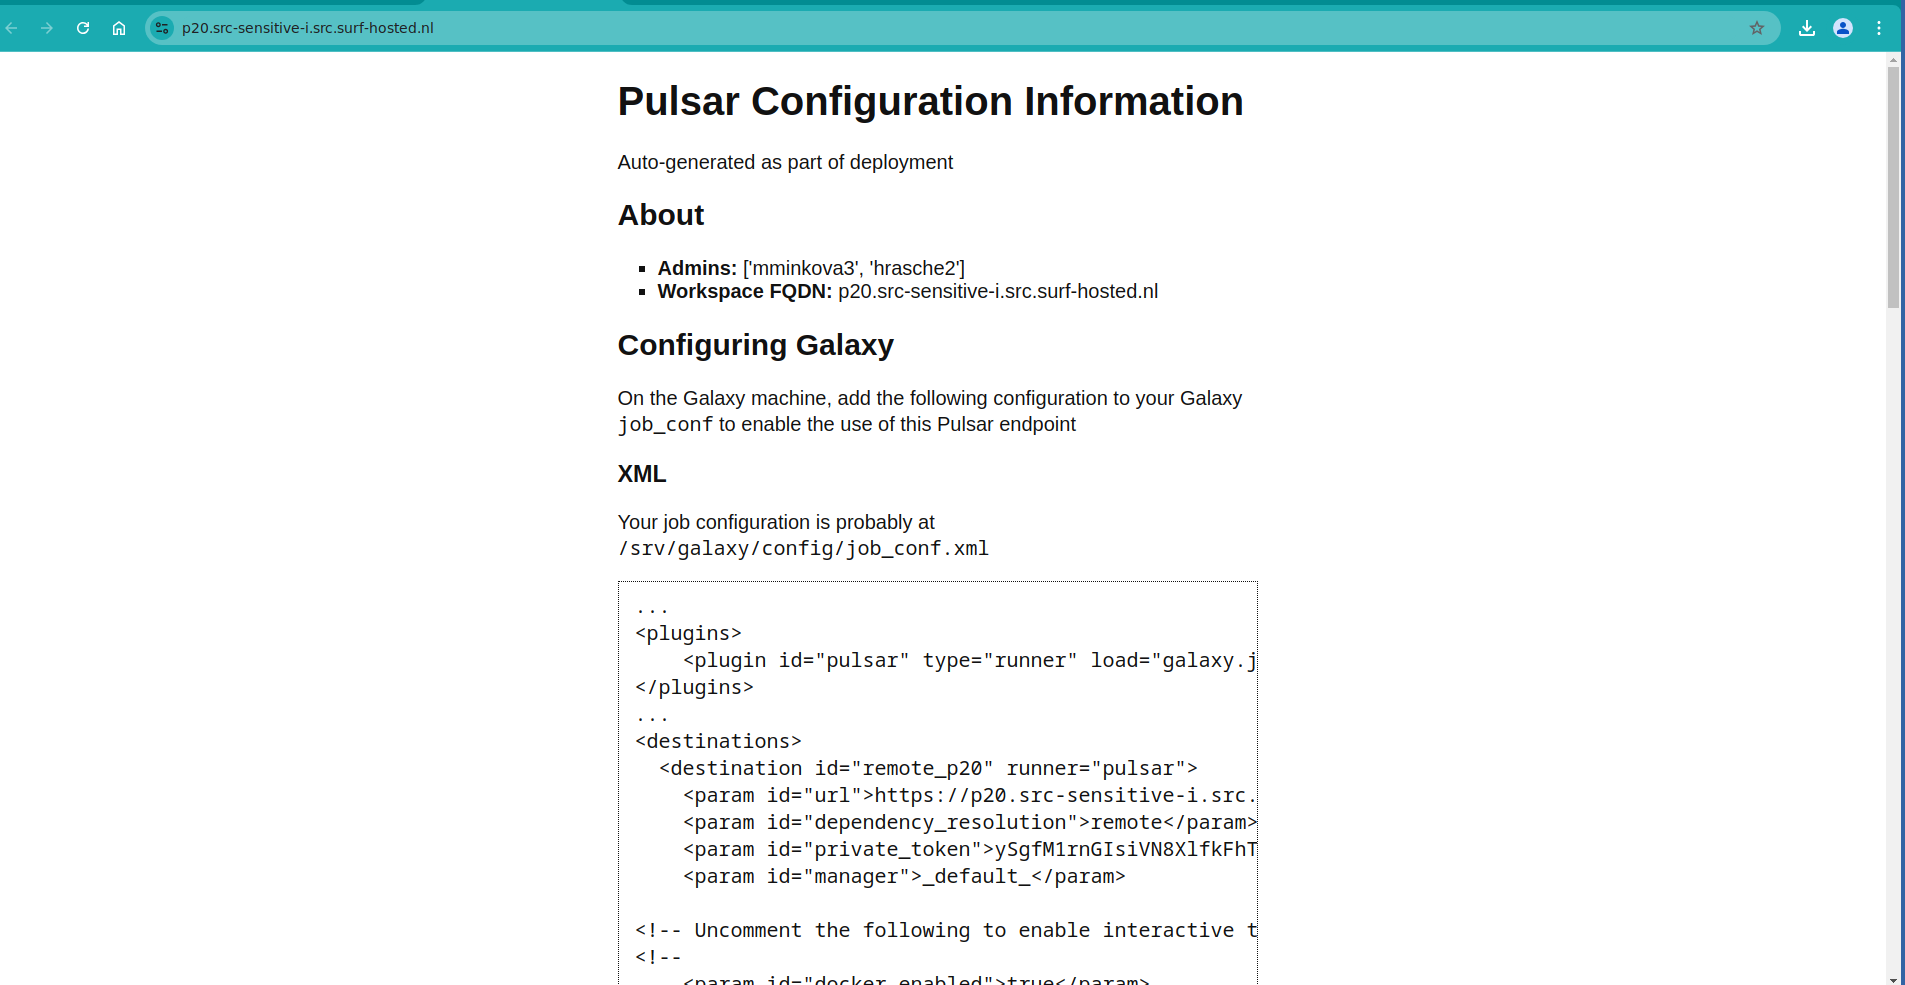
Click that will show you a Pulsar information page. This page is running on your pulsar node itself, and is restricted to ensure only authorised members can access the contents. It includes some configuration you will need to copy to your Galaxy node in order to make use of the Pulsar node.
This information page should have more than enough information to connect this Pulsar instance to your Galaxy server. You will need to reference information from this page in the following steps:
Hands-on: Configuring Galaxy to use SRC Pulsar
Collect the requirements for accessing the Galaxy machine. You will need:
- your username from the first step
- your SSH key that is associated with your SRAM account
SSH into your Galaxy machine (not pulsar!).
ssh -i path/to/your/sram-ssh-key username@galaxy.src-winter-school.src.surf-hosted.nl- You will need to
sudo suto do anything useful. Do that now.cd /srv/galaxy/to move into the directory Galaxy configuration is stored.The configuration is discussed fully in the Pulsar information, but it will be briefly covered here as well. Generally there are a few steps that must be followed:
- A runner must be registered
- A destination/environment must be added with the pulsar details
- Some tools should be redirected to this Pulsar
Here is an example of what those changes might look like in your Galaxy node. In this example our pulsar node was called
p20but that will be different for you.If you haven’t worked with diffs before, this can be something quite new or different.
If we have two files, let’s say a grocery list, in two files. We’ll call them ‘a’ and ‘b’.
Input: Old$ cat old
🍎
🍐
🍊
🍋
🍒
🥑Output: New$ cat new
🍎
🍐
🍊
🍋
🍍
🥑We can see that they have some different entries. We’ve removed 🍒 because they’re awful, and replaced them with an 🍍
Diff lets us compare these files
$ diff old new
5c5
< 🍒
---
> 🍍
Here we see that 🍒 is only in a, and 🍍 is only in b. But otherwise the files are identical.
There are a couple different formats to diffs, one is the ‘unified diff’
$ diff -U2 old new
--- old	2022-02-16 14:06:19.697132568 +0100
+++ new	2022-02-16 14:06:36.340962616 +0100
@@ -3,4 +3,4 @@
 🍊
 🍋
-🍒
+🍍
 🥑
This is basically what you see in the training materials which gives you a lot of context about the changes:
--- oldis the ‘old’ file in our view+++ newis the ‘new’ file- @@ these lines tell us where the change occurs and how many lines are added or removed.
- Lines starting with a - are removed from our ‘new’ file
- Lines with a + have been added.
So when you go to apply these diffs to your files in the training:
- Ignore the header
- Remove lines starting with - from your file
- Add lines starting with + to your file
The other lines (🍊/🍋 and 🥑) above just provide “context”, they help you know where a change belongs in a file, but should not be edited when you’re making the above change. Given the above diff, you would find a line with a 🍒, and replace it with a 🍍
Added & Removed Lines
Removals are very easy to spot, we just have removed lines
--- old	2022-02-16 14:06:19.697132568 +0100
+++ new	2022-02-16 14:10:14.370722802 +0100
@@ -4,3 +4,2 @@
 🍋
 🍒
-🥑
And additions likewise are very easy, just add a new line, between the other lines in your file.
--- old	2022-02-16 14:06:19.697132568 +0100
+++ new	2022-02-16 14:11:11.422135393 +0100
@@ -1,3 +1,4 @@
 🍎
+🍍
 🍐
 🍊
Completely new files
Completely new files look a bit different, there the “old” file is
/dev/null, the empty file in a Linux machine.$ diff -U2 /dev/null old
--- /dev/null 2022-02-15 11:47:16.100000270 +0100
+++ old 2022-02-16 14:06:19.697132568 +0100
@@ -0,0 +1,6 @@
+🍎
+🍐
+🍊
+🍋
+🍒
+🥑And removed files are similar, except with the new file being /dev/null
--- old	2022-02-16 14:06:19.697132568 +0100
+++ /dev/null	2022-02-15 11:47:16.100000270 +0100
@@ -1,6 +0,0 @@
-🍎
-🍐
-🍊
-🍋
-🍒
-🥑
runners: local: load: galaxy.jobs.runners.local:LocalJobRunner workers: 4 condor: load: galaxy.jobs.runners.condor:CondorJobRunner + pulsar: + load: galaxy.jobs.runners.pulsar:PulsarRESTJobRunner execution: default: docker_dispatch environments: local_destination: runner: local # ... probably some more environments here. + remote_p20: + runner: pulsar + url: https://p20.src-sensitive-i.src.surf-hosted.nl + private_token: ySgfM1rnGIsiVN8Xlfk + dependency_resolution: remote + manager: _default_ + # Uncomment the following to enable interactive tools: + docker_enabled: true + docker_set_user: null + docker_memory: "8G" + singularity_enabled: false + tmp_dir: true + outputs_to_working_directory: false + container_resolvers: + - type: explicit + require_container: True + container_monitor_command: /mnt/pulsar/venv/bin/galaxy-container-monitor + container_monitor_result: callback + container_monitor_get_ip_method: command:echo p20.src-sensitive-i.src.surf-hosted.nl tools: - class: local # these special tools that aren't parameterized for remote execution - expression tools, upload, etc environment: local_env - id: Cut1 environment: condor_1x1 +- id: interactive_tool_jupyter_notebook + environment: remote_p20 +- id: interactive_tool_rstudio + environment: remote_p20
With the above, the minimal configuration is done, the Galaxy server will be aware of the Pulsar node, and two tools will be sent there: the Jupyter and RStudio Interactive Tools.
While you will simply copy-paste the runner and environment, you will need to identify yourself which tools should go to this Pulsar node. You can find the tool ID from the dropdown at the top right, just to the left of “Execute” at the top:
If you are running jobs for a limited period of time, you might consider making this pulsar node the default destination. Remember to use the
remote_...name of your pulsar node, based on what you copied. Notremote_p20.execution: - default: docker_dispatch + default: remote_p20 environments: local_destination: runner: local
With that, you’re done, and for the length of time your node is running, your chosen tools (or everything) will be executed on that Pulsar node with more memory and CPU than the Galaxy host, and maybe a GPU as well!
Hands-on: Launch a Job on Pulsar
- Login to your Galaxy
- Run one of the tools you have decided to send to Pulsar
On the pulsar machine, you can check that it runs by following the logs:
sudo journalctl -fu pulsar
Congratulations on launching Pulsar in SRC! 🌌
